Workflow Basics
Learn the basics of building automated workflows in wrrk.
Workflow Basics
Workflows in wrrk let you automate repetitive tasks by defining triggers, conditions, and actions. No coding required.
What is a Workflow?
A workflow is a set of instructions that runs automatically when a specific event occurs. For example:
- When a new contact is created, send a welcome email.
- When a deal moves to "Closed Won", notify the team in chat.
- When a WhatsApp message contains "refund", create a support ticket.
Workflow Components
Every workflow has three parts:
1. Trigger: The event that starts the workflow:
- New contact created
- Deal stage changed
- Email received
- WhatsApp message received
- Form submitted
- Scheduled (time-based)
- Manual trigger
2. Conditions (optional), Filters that determine whether the workflow should continue:
- Contact has specific tag
- Deal value is above/below a threshold
- Message contains specific keywords
- Time of day is within business hours
3. Actions: What happens when the trigger fires and conditions are met:
- Send an email
- Send a WhatsApp message
- Create a task
- Update a contact field
- Move a deal to a stage
- Add a tag
- Notify a team member
- Call a webhook (for developers)
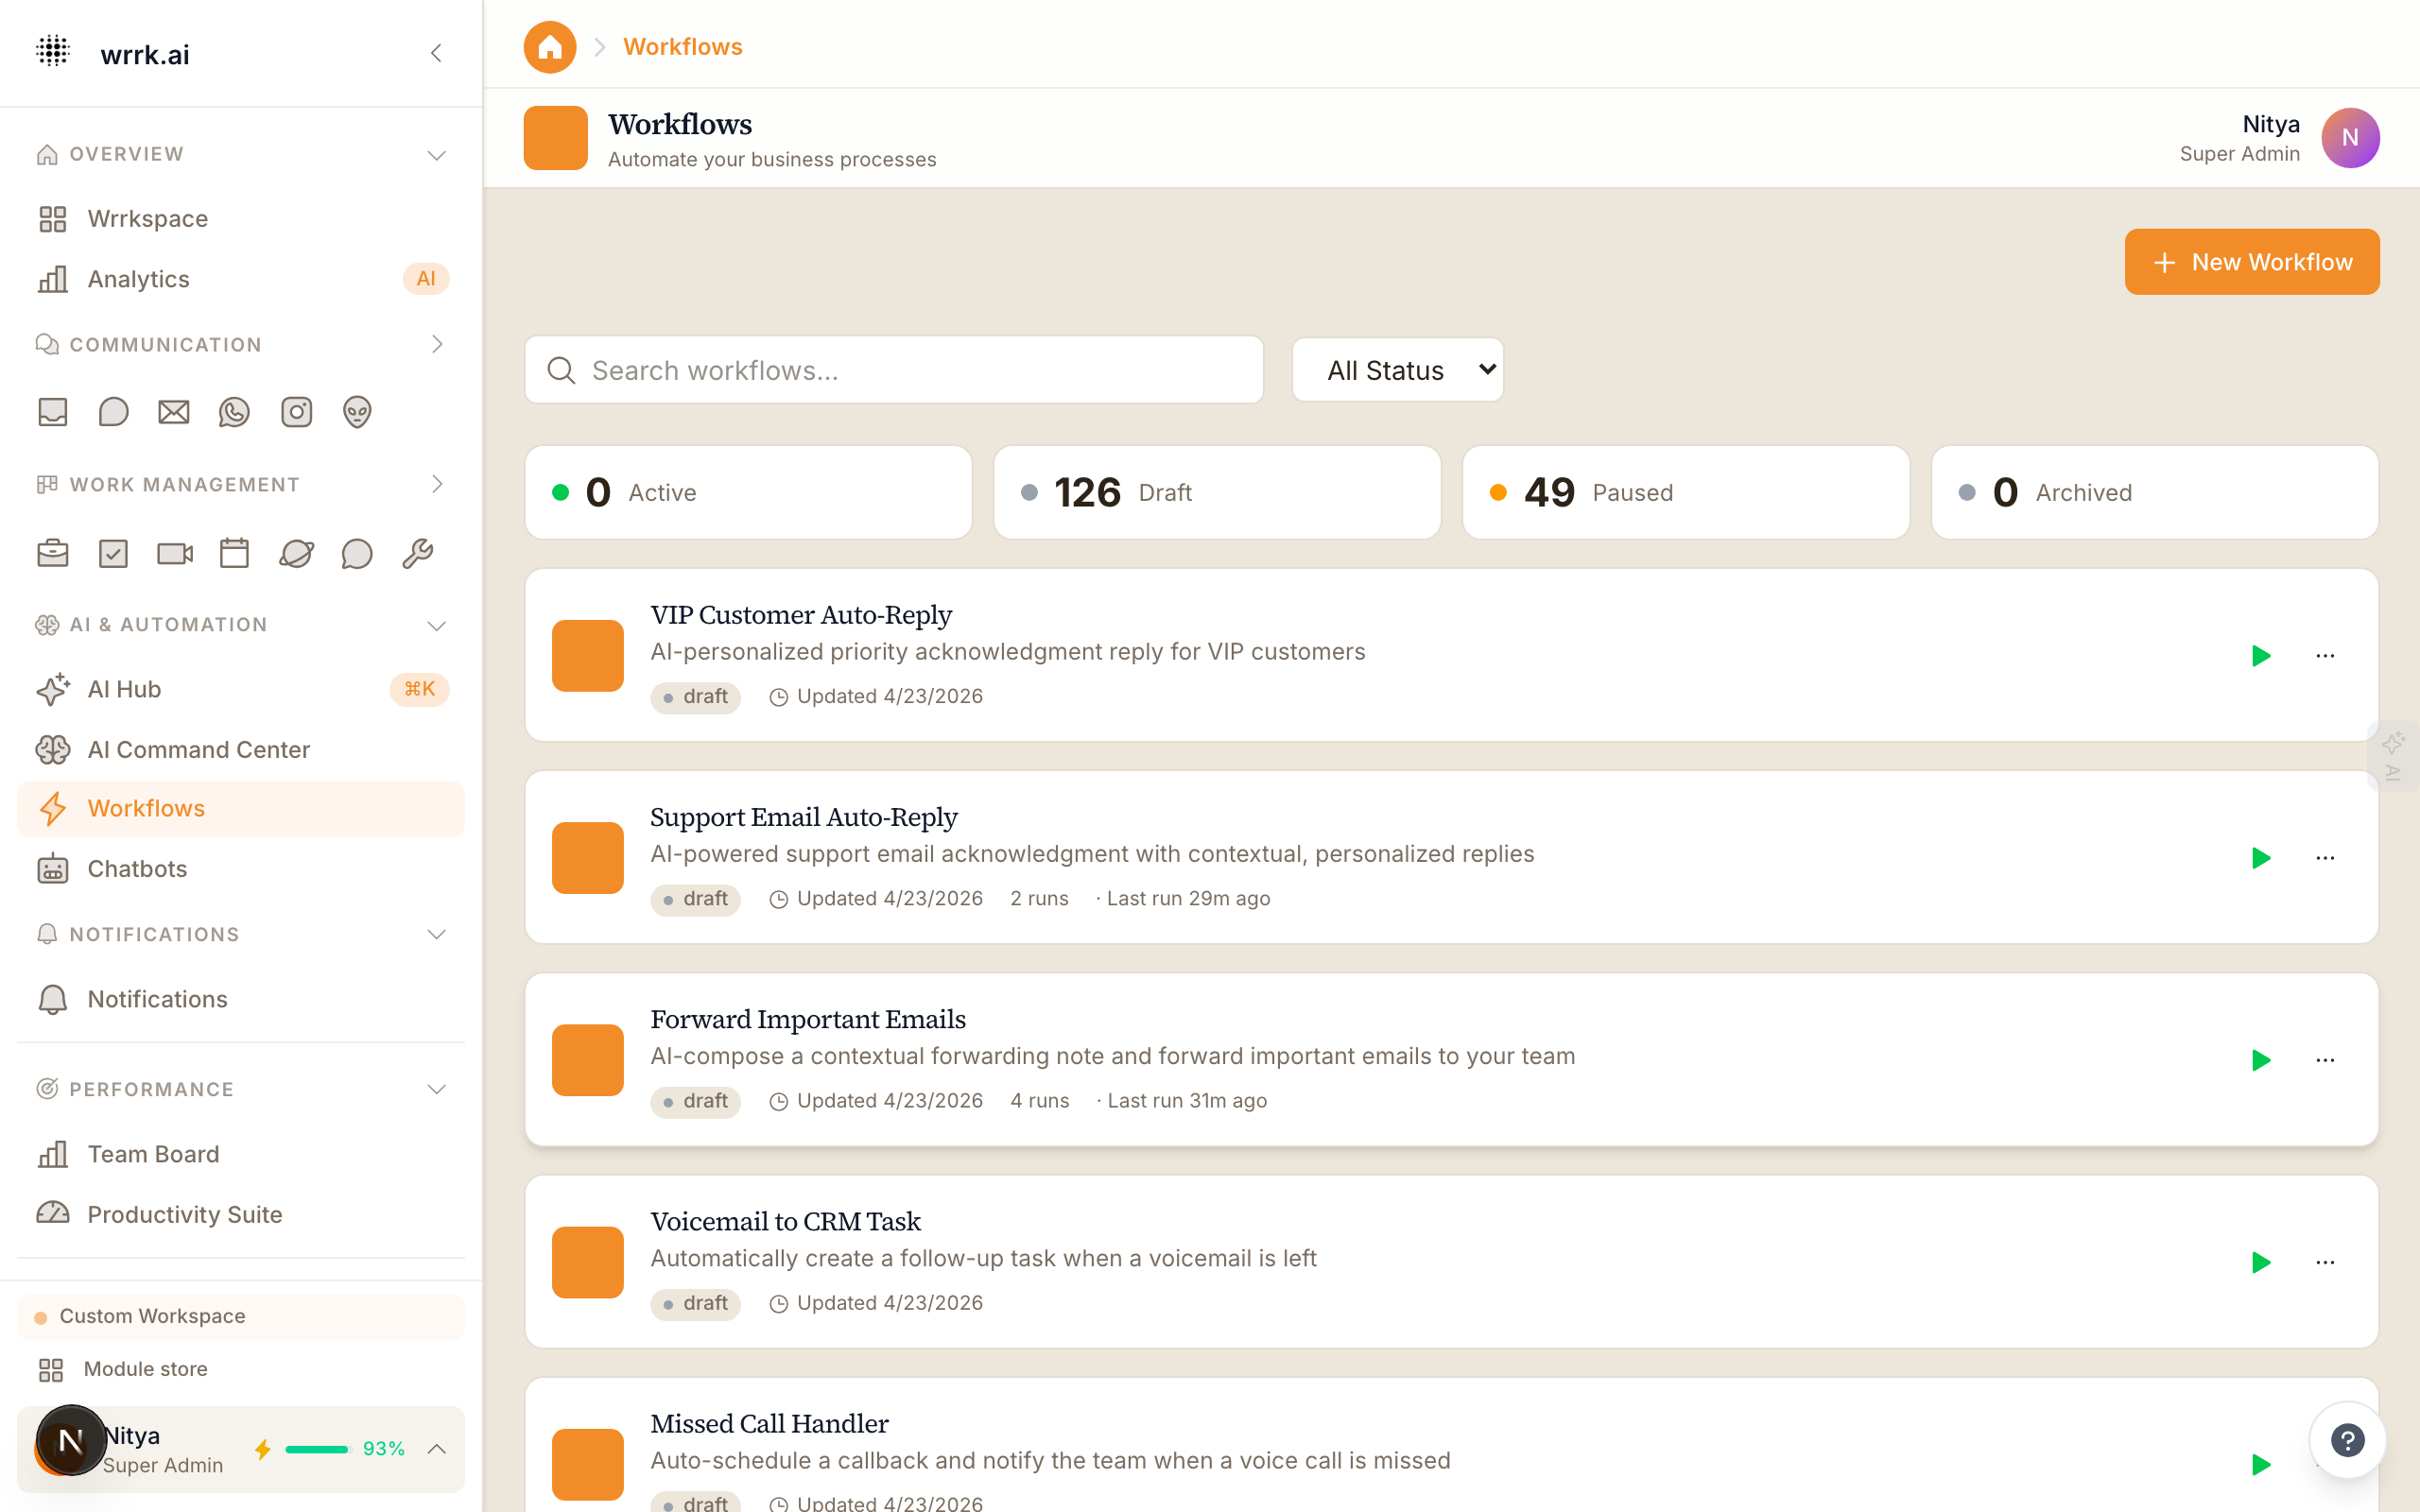
Creating Your First Workflow
- Go to Workflows in the sidebar.
- Click New Workflow.
- Give it a name and description.
- Select a trigger from the list.
- (Optional) Add conditions to filter.
- Add one or more actions.
- Click Save and Activate.
Workflow Builder
The visual workflow builder lets you see the flow from trigger to actions. Drag and drop nodes, connect them with arrows, and configure each step by clicking on it.
Testing Workflows
Before activating, use the Test button to simulate the workflow with sample data. This shows you exactly what would happen without actually sending messages or creating records.
Tips
- Start simple, one trigger, one action. Add complexity as you learn.
- Use conditions to avoid sending irrelevant messages.
- Check the workflow logs regularly to ensure everything runs smoothly.
Tags